
A quick brake check belongs before a bicycle leaves home, when there is still time to resolve a problem. The goal is to notice changes and follow the instructions for the fitted system, rather than make hurried adjustments at the roadside.
This pre-ride bicycle brake check covers identifying the brakes, observing their condition, and recording anything that needs service. It is an inspection routine, not a repair procedure or a substitute for the bicycle and component manuals.
Identify the system before checking it
Look up the bicycle model and the brake components actually fitted. A secondhand bicycle may no longer have its original parts. Note whether the braking surface is a wheel rim or a disc rotor, and whether the control system is cable-operated or hydraulic.
Keep the relevant owner's instructions available. Pad wear indicators, inspection access, and maintenance requirements vary. A clearance or replacement threshold from a different brake is not automatically applicable.
Write the component identification into your maintenance notes. You can then ask a mechanic a specific question instead of trying to describe the system from memory.
Check while you have time to respond
Choose a well-lit place where you can support the bicycle securely. Finish loading the bike and arranging any luggage before your final check, so you inspect the setup you will actually ride.
Park Tool's pre-ride inspection guidance recommends checking at home and suggests doing it the night before to leave time for repairs. Its brake checks include observing wheel clearance and noticing an unexpectedly soft or mushy control feel.
Treat a changed feel as a reason to investigate, not a diagnosis of a particular fault. Do not assume that repeatedly pulling the lever has resolved an unexplained problem.
Observe both brakes separately
Follow the bicycle manual's inspection sequence for the front and rear. Look at the accessible control, cable or hose, and braking components without disassembling parts merely to get a better view.
Record what you can see clearly and what remains uncertain. A photograph of the affected area can help a service conversation, especially if the symptom is difficult to explain. Keep the image associated with front or rear so the notes cannot be confused.
Avoid comparing lever travel with a friend's bicycle as a pass-or-fail rule. Different systems have different instructions and adjustment arrangements.
Check wear using the correct reference
Find the pad inspection information for your model. Confirm what the manufacturer asks you to inspect and whether it supplies an indicator or measurement procedure. Use the specified reference rather than judging remaining life by color or general appearance.
Trek's current bicycle owner's manual includes brake checks among pre-ride preparation. Use the version appropriate to your bicycle and the component documentation for any specific wear limits.
If you cannot see or interpret the required indicator, obtain help before relying on the brake. A quick outside glance is not proof that hidden parts are within their service limits.
Watch for interference after moving the bicycle
Transport, wheel removal, and a changed luggage arrangement are useful reminders to repeat the relevant checks. Follow the manual before testing a bicycle whose wheel or brake parts were disturbed.
Park Tool's linked guide distinguishes checking rim-brake pad clearance from checking disc-rotor rubbing. Listen and observe according to the relevant procedure; a new repeated rub deserves investigation rather than being ignored because the wheel still turns.
Do not loosen unfamiliar bolts to eliminate a sound. Describe when it occurs, which wheel is involved, and whether anything was recently moved. That information is more useful to a mechanic than several undocumented adjustments.
Use the manufacturer's final function check
After the visual inspection, follow the bicycle manual's prescribed brake function check. Use its conditions and sequence, with an appropriate clear location. An unresolved defect should be addressed before attempting a riding test.
A successful check is a limited observation of that setup at that time, not a guarantee of future stopping performance in every condition. Repeat the routine before the next outing and after relevant service, as the manufacturer directs.
When a brake feels different, a component appears damaged, or the specified check fails, arrange service before riding. Bring your notes and identify any recent maintenance.
Keep a useful maintenance record
A short entry can include the date, front and rear observations, component model, and whether professional attention was needed. Record completed service separately from the original symptom so you know what was actually addressed.
Keep brake inspection alongside our tire-pressure routine and chain-wear guide. These checks answer different maintenance questions; passing one does not settle the others.
For help locating product information, contact Anscycle with the bicycle and component details. Confirm exact compatibility before ordering replacement parts.
Frequently asked questions
Can I use one pad-wear limit for every brake?
No. Use the instructions and inspection reference for the actual fitted component.
Is a spinning wheel enough to establish that the brake is ready?
No. Wheel clearance is only one observation. Complete the manufacturer's visual and function checks.
Should I keep riding with a newly soft lever?
Resolve the changed behavior according to the manufacturer or a qualified bicycle mechanic before riding.
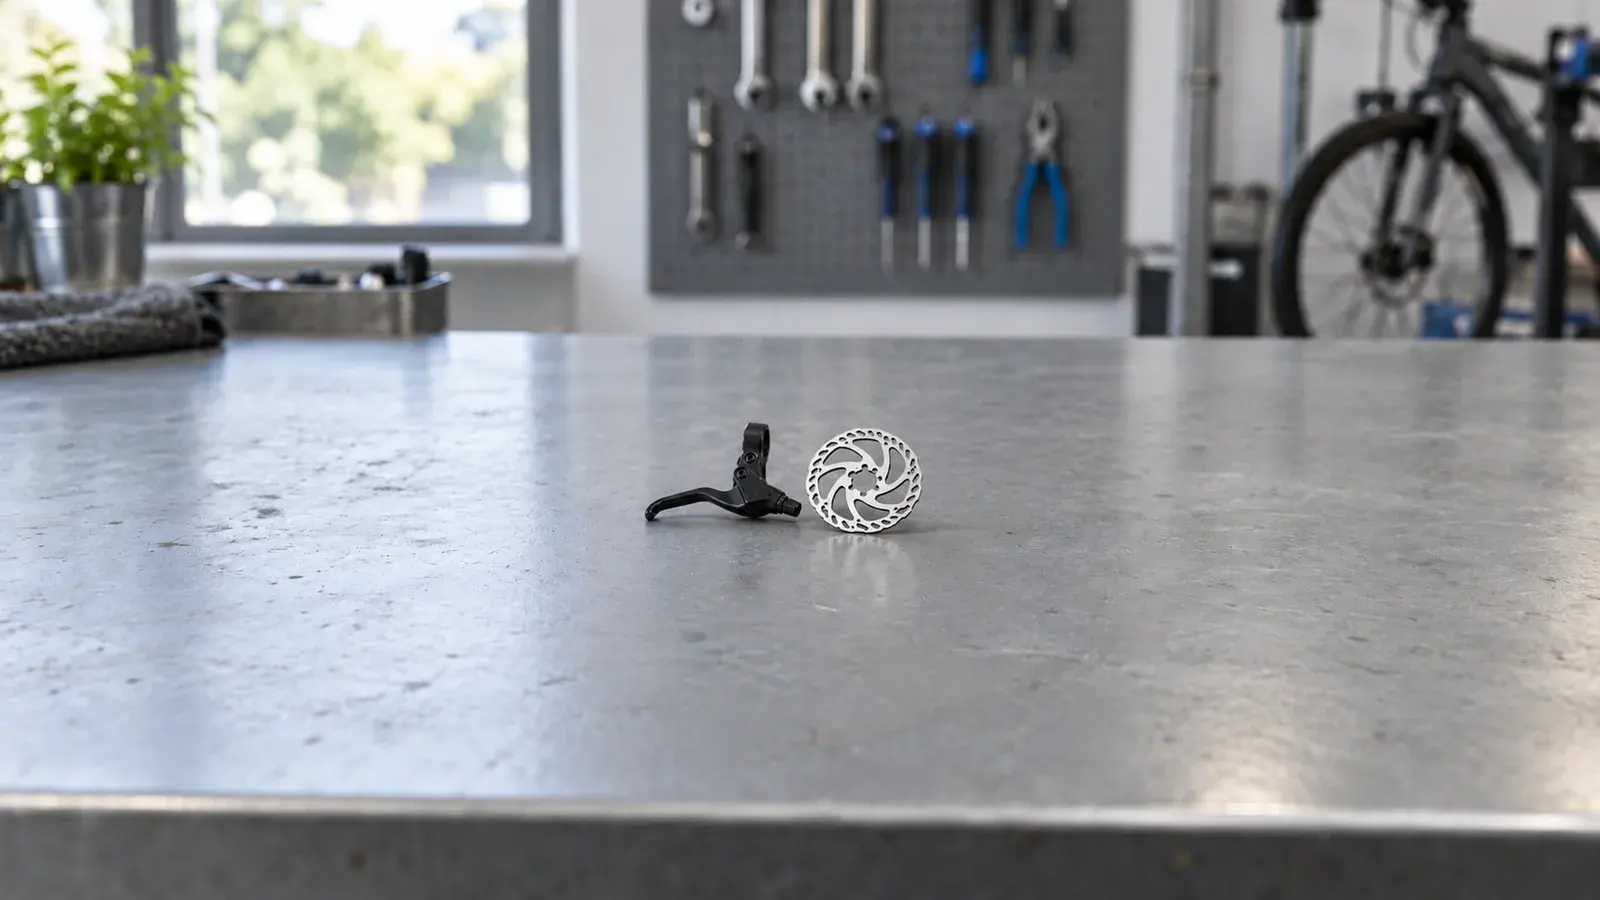
Cover: an original AI-generated editorial image of generic brake components, not a product photograph or an assembly demonstration.