
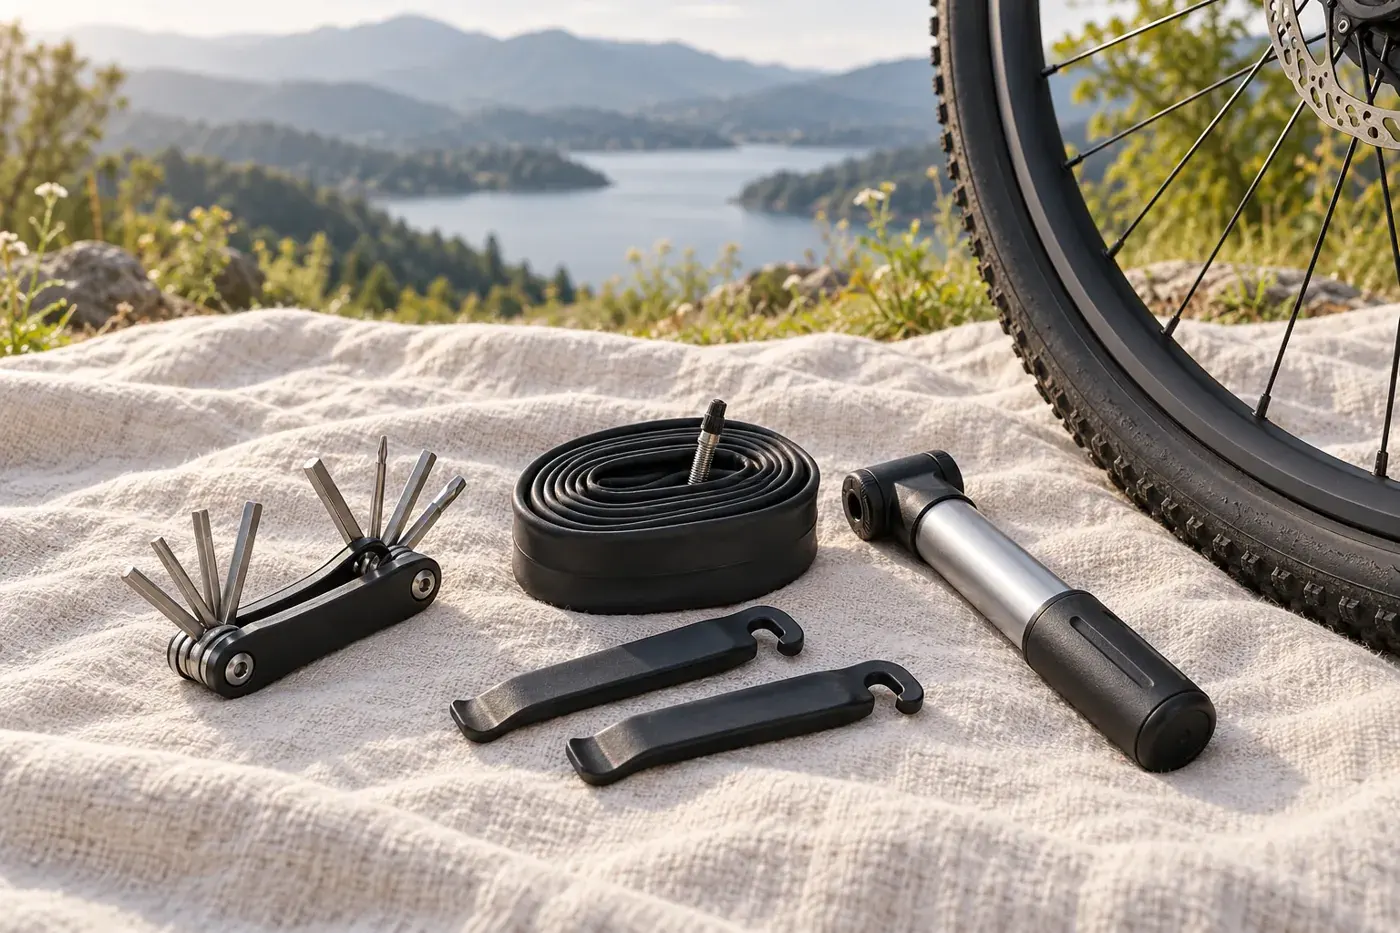
A flat tire can interrupt a short commute or a long weekend ride. A compact repair kit helps only when its contents fit the bicycle and the rider knows how to use them. Before setting out, check the tire system, the route and the tools you can carry comfortably.
This guide covers planning, not a universal roadside repair procedure. Follow the instructions for your wheels, tires, brakes and bicycle, and ask a bicycle mechanic to demonstrate any task you have not learned.
Identify the tire system
Look at the markings on the tire and check the wheel and tire documentation. Record the tire size and whether the current setup uses an inner tube or a tubeless system. If the answer is uncertain, ask the bicycle shop that assembled or services the bike.
The kit for a tube setup may differ from one intended for a tubeless tire. Some riders carry a compatible spare tube as a contingency for a tubeless setup, but fitting one still depends on the tire, rim, valve and manufacturer's instructions. Do not assume that one repair accessory is suitable for every wheel.
Select a compatible spare tube or repair material
For a tube setup, compare the spare tube's stated size range with the tire size. Check the valve type and its length against the rim and pump. A spare that cannot be inflated with your pump or does not fit the wheel is not a useful backup.
A patch kit can be a lightweight addition. Read its instructions and check the condition and expiration information of any adhesive or repair material where applicable. If you carry tubeless plugs or sealant, select products compatible with your tire system and follow their instructions.
Trek's tire maintenance guide describes a repair kit with a spare tube, patch kit, levers and small pump. Adapt the contents to your equipment and skills instead of assuming the same list fits every bicycle.
Check the pump and valve connection
Choose a pump that is compatible with the valve on your bicycle and can reach the pressure required for your setup. Read the pump instructions and test the connection at home. If an adapter is required, carry it with the pump and make sure it fits before the ride.
A gauge gives a repeatable reading when selecting pressure. Check the applicable limits on both the tire and rim, and follow the bicycle or wheel manufacturer's guidance. Do not exceed the lower applicable limit. A compact pump may take more effort than a floor pump, so practice with the actual equipment you plan to carry.
If you use CO2, follow the inflator and tire-system instructions, carry cartridges appropriate to the device and understand the limitations. A hand pump can provide another inflation option without assuming a cartridge will always be enough.
Match tire levers and wheel tools
Tire levers are designed to help remove a tire, but the wheel and tire maker may specify acceptable tools or methods. Choose levers that are compatible with the rim, and avoid using sharp metal objects that can damage a tube, tire or rim. Some combinations fit tightly; learn the correct procedure from a qualified mechanic before relying on a roadside attempt.
Check how your wheels are secured. Axle types and required tools vary, and an electric bicycle may have additional instructions. Do not loosen or adjust a component unless you know the correct procedure for your model. The bicycle manual and a shop demonstration are useful references.
A small multi-tool should match the fasteners you are actually trained and permitted to adjust. Trek's owner manual notes that many repairs require special knowledge and tools. Significant mechanical work belongs with a qualified bicycle mechanic.
Pack for a safe stop
Put the kit in a bag that keeps the spare tube protected from rubbing, sharp tools and moisture. A small cloth or disposable gloves can make handling a dirty wheel easier. Keep levers and adapters together so they do not migrate to the bottom of the bag.
Choose a safe place away from moving traffic if a tire loses air. Consider the weather, available light and how you will contact someone if a repair cannot be completed. A charged phone and a realistic route home are part of the plan, especially on a remote ride.
Do not continue riding on a flat tire unless the equipment manufacturer explicitly permits it. Stop if you see a damaged tire, rim, brake or axle, or if the wheel cannot be secured correctly. When in doubt, arrange assistance.
Rehearse and refresh the kit
At home, use the bicycle manual and a shop demonstration to learn the tasks appropriate to your equipment. Confirm that the spare tube, pump and tools work together; then repack them in the same bag. A practice check is also a chance to discover a missing valve adapter or an incompatible axle tool.
After a ride where anything is used, replace it before the next trip. Periodically inspect the spare tube and repair supplies, especially after a wet ride or long storage. Review the kit when changing wheels or tires.
Explore the Anscycle blog for more bicycle preparation guides. Check each accessory's specifications against your own bicycle before buying.
Frequently asked questions
Will one spare tube fit every tire?
No. Match its stated size range and valve to the tire, rim and pump.
Do I need tire levers for every wheel?
Some tire and rim combinations differ. Follow the wheel and tire maker's instructions and practice with your setup.
Can I repair a damaged tire with a patch kit alone?
A tube patch does not establish that a damaged tire or rim is safe. Stop and consult a qualified mechanic when the condition is uncertain.
The cover is an AI-generated editorial illustration, not a photograph of a specific product.