
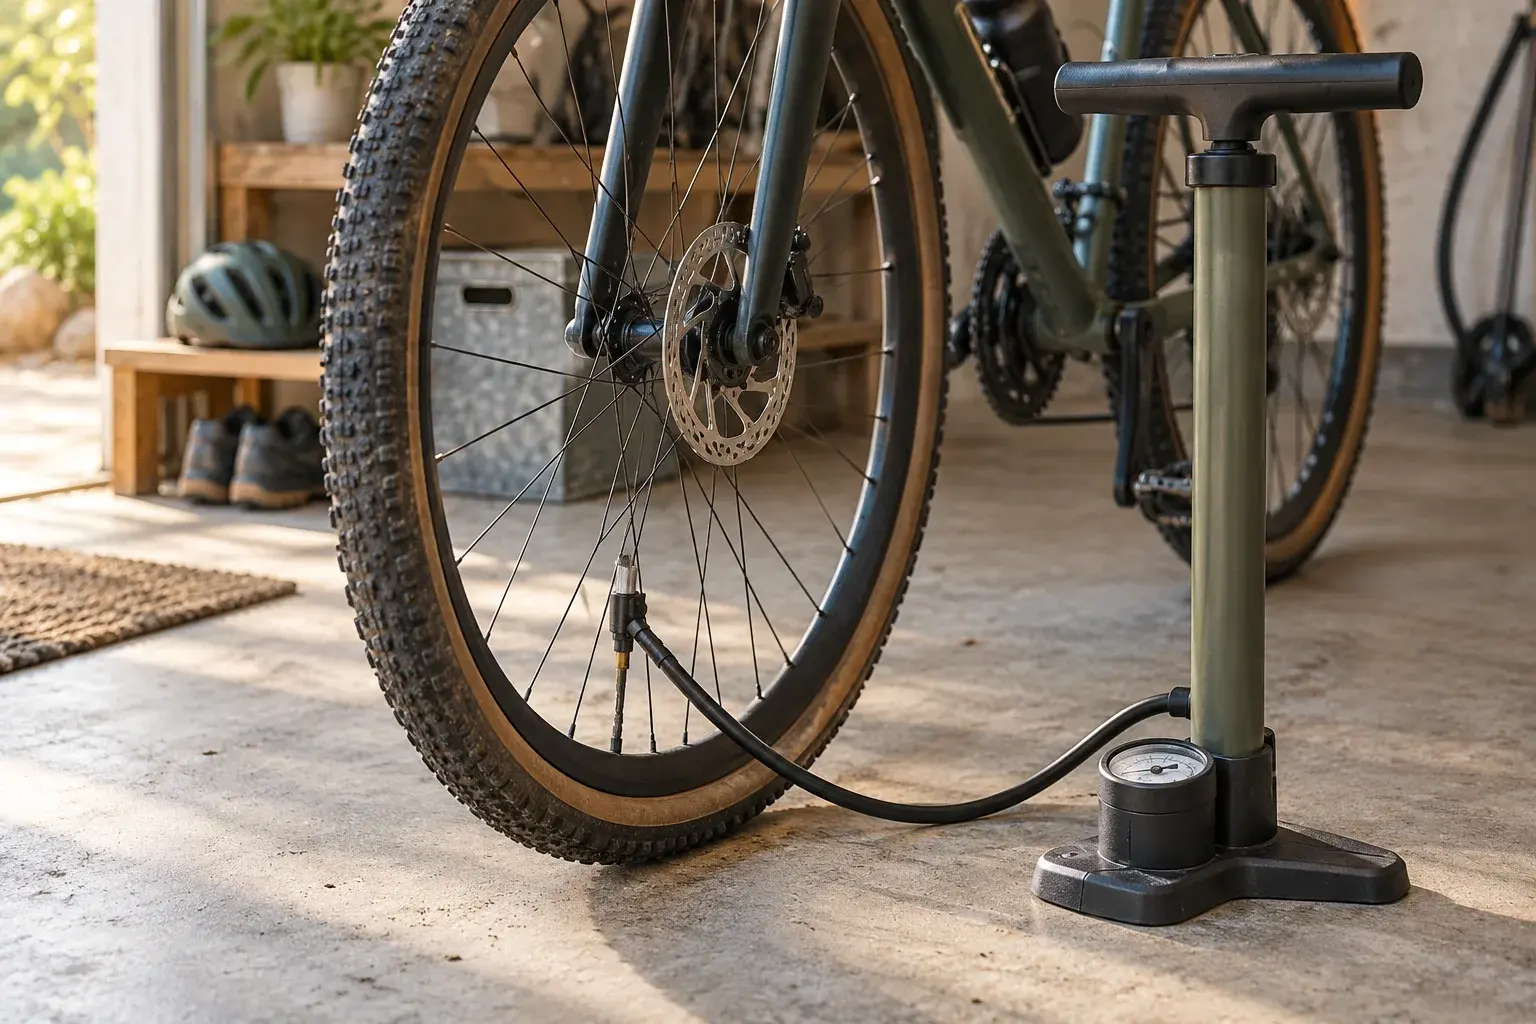
A bicycle tire pressure check should begin with a gauge and the instructions for your wheel setup. Squeezing the tire may feel convenient, but it does not provide a repeatable number. The aim is to confirm a suitable pressure for the equipment, rider, and intended ride, not to copy a number from another cyclist's bicycle.
Build the check into your preparation while there is still time to resolve a problem. A pump with a compatible head, a readable gauge, and a short note of your usual setup can make the process easier to repeat.
Identify what is fitted to the bicycle
Read the tire sidewall and record the tire model and size. Check the wheel or rim instructions as well, particularly when using a tubeless or hookless setup. The tire and wheel must be compatible, and the pressure you use must stay within the limits that apply to the complete setup.
Do not decide from the bicycle category alone. Road, gravel, and mountain bicycles can carry different tire widths and wheel systems. Even two bicycles that look similar may require different preparation. If you are comparing a future setup, begin with the Anscycle gravel bike collection and review the actual listed specifications.
Find the applicable limits before inflating
Schwalbe's tire pressure guidance explains that a suitable pressure depends on factors including the load carried by the tire and that the permitted range is shown on the tire sidewall. It does not offer one universal number for every bicycle.
Read the wheel manufacturer's limits too. If the tire and rim have different maximum pressures, never exceed the lower applicable limit. A sidewall maximum is a limit, not an automatic target for every ride. If the instructions are unclear or the components are not a confirmed compatible combination, ask a qualified bicycle shop before proceeding.
Your own riding note should include the source of the guidance, not just a bare pressure number. That makes it easier to revisit the decision after changing a tire, a wheel, or the luggage carried on the bicycle.
Use a compatible pump and a readable gauge
Identify the valve type and follow the pump manufacturer's instructions for connecting the head. Check that the connection is secure without forcing it. Keep the wheel supported so the hose does not pull the valve sideways while you work.
Read the gauge before adjusting pressure. Confirm the unit displayed: a number in bar is not the same number in psi. Use the unit consistently in your notes so you do not have to remember what an unlabeled measurement meant later.
Schwalbe recommends a pressure gauge and notes that the familiar thumb-squeeze test is unreliable. It also explains that bicycle tubes gradually lose pressure; latex tubes require checking and adjustment before every ride. Your tire system's own instructions determine the maintenance routine you should follow.
Adjust deliberately and check both tires
Use the manufacturer's recommended starting guidance for your actual tire and wheel combination. Adjust gradually while watching the gauge, keeping within all applicable limits. Follow the pump's procedure for releasing excess air instead of improvising with a sharp object near the valve.
Check the front and rear separately. Do not assume the second tire matches the first or that both tires need the same adjustment. Record the pressures and the riding setup together, including a luggage change that is relevant to the recommended guidance.
Remove the pump head as instructed and finish the valve procedure correctly for that type. If the gauge reading changes unexpectedly, investigate the connection and follow the equipment troubleshooting instructions. Repeatedly adding air without understanding an unexplained loss is not a reliable preparation method.
Look at the tire while you are beside it
Pressure is only one part of a pre-ride tire check. Rotate the wheel slowly and look for cuts, exposed material, objects lodged in the tread, and a tire that appears unevenly seated. A pressure reading cannot establish that a visibly damaged tire is ready to ride.
If the tire will not hold pressure, or the seating or sidewall condition is uncertain, stop and resolve the fault through the manufacturer or an appropriate bicycle mechanic. Do not rely on extra pressure to compensate for damage.
Keep a compatible pump and the equipment appropriate to your tire system in your preparation kit. The Anscycle accessories collection is a place to review available cycling equipment; confirm valve, tire-system, and wheel compatibility before choosing an item.
Keep a short, useful ride note
Write down the date, front and rear readings, tire setup, and the guidance used. Add one observation after the ride if it will help your next check. Keep any future adjustments inside the manufacturer limits and avoid changing several things at once without a clear reason.
The value of the note is repeatability. It helps distinguish a normal check from a recurring loss of air and reduces confusion when more than one person uses the bicycle or maintains the pump.
Frequently asked questions
Can I copy the pressure used by another rider?
Use it only as a conversation starter. Your tire, wheel, load, and manufacturer instructions may differ, so another rider's number is not a substitute for checking your setup.
Should I always inflate to the sidewall maximum?
No. A maximum is a limit. Use the applicable manufacturer guidance and stay within the limits of both the tire and wheel.
Is a firm-feeling tire enough to start a ride?
A gauge gives a repeatable pressure reading; Schwalbe specifically notes the limitations of the thumb test. Also inspect tire condition before riding.
The cover is an AI-generated editorial illustration, not a photograph of a specific bicycle or pump model.