
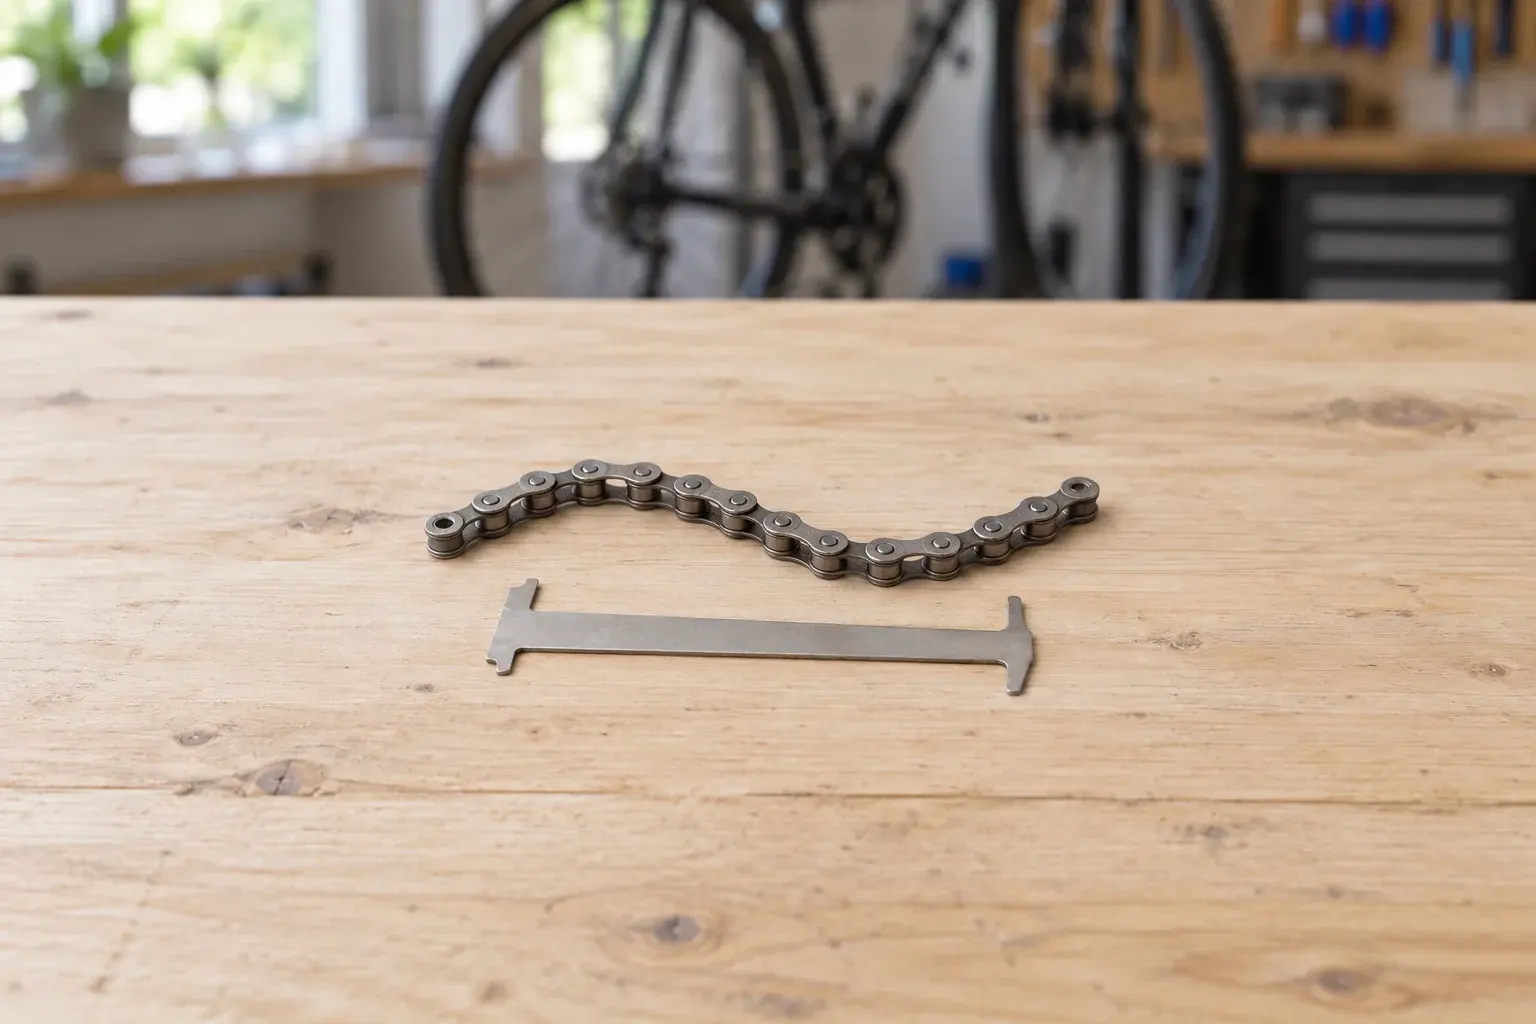
A bicycle chain can look clean and still be worn. Checking its condition is a separate task from wiping away dirt or adding lubricant. A compatible chain checker gives you a repeatable way to decide when to consult the replacement guidance for your drivetrain.
This guide explains how to check bicycle chain wear as a small maintenance routine: identify the chain, choose the right gauge, follow its instructions, and keep a useful record. It does not replace the instructions for your specific components.
Understand what chain wear means
The phrase chain stretch can be misleading. Park Tool's chain-wear guide explains that wear in internal parts, including rivets and rollers, changes the chain's effective length. A worn chain can mesh poorly with the drivetrain and contribute to wear of other components.
A wear measurement therefore answers a different question from whether the chain looks shiny or dirty. Do not use appearance alone to decide that a recently cleaned chain is ready for many more rides.
Make room for this check in your maintenance notes rather than waiting for a memorable noise to prompt you. A short written result is easier to compare than an impression from your last ride.
Identify the chain before choosing a checker
Record the drivetrain and chain model where you can find them, along with the number of rear sprockets. Check the manufacturer's information if the chain has a particular construction or compatibility requirement.
Then confirm that the gauge supports that chain. For example, Park Tool specifies its CC-4.2 checker for 5-to-13-speed derailleur chains and single-speed chains, including the named special chain designs on its product page. That is a specification for this exact tool, not a promise that every older checker has the same compatibility.
Keep the tool's model name beside your results. Two instruments can look similar while using a different contact arrangement or displaying different wear marks. When choosing equipment, read the current instructions rather than relying on a photograph or a family name.
Prepare a stable place to work
Place the bicycle where it is secure and will not tip or move unexpectedly. Park Tool describes using a repair stand or a stable position on the ground. Allow enough time to read the tool instructions before putting it against the chain.
Arrange your maintenance notes and gauge within reach. Keep loose belongings clear of the drivetrain, and perform the measurement with the bicycle stationary. If positioning the bicycle or accessing the chain is awkward, have a qualified workshop perform the check.
A practical notebook entry can begin with the date, bicycle name, chain model, and checker model. Add the applicable replacement recommendation once you have confirmed it. Preparing these fields first helps prevent confusion when several bicycles share the same maintenance kit.
Follow the gauge's own measuring sequence
Use the contact points and handling method shown in the instructions for your checker. Do not assume that every drop-in gauge works by simply resting it on a slack chain.
For the CC-4.2 example, Park Tool's illustrated instructions require positioning the tool with the gauge tip initially above the chain, maintaining tension at the illustrated location, and checking the gauge tip while maintaining that tension. The drawing matters because it identifies where to apply the pressure.
Read the result before moving to another task. If the contact position or result is uncertain, repeat the documented setup calmly or seek help with the exact tool. Avoid recording a confident number from an uncertain placement.
Interpret the result against the right recommendation
A wear mark is a measurement reference, not a universal service interval. Park Tool's CC-4.2 product page gives these general replacement guidelines:
| Drivetrain type | General wear limit listed by Park Tool |
|---|---|
| Two-sprocket single-speed | 1.0% |
| 5-to-10-speed | 0.75% |
| 11-to-13-speed | 0.5% |
The same source says drivetrain manufacturers may have their own component-specific recommendations. Confirm the guidance for your actual chain and system; do not override it with this general table.
Write down what the gauge indicated and which recommendation you consulted. For a go/no-go tool, describe whether its indicated wear point was reached instead of inventing extra decimal precision that the instrument does not provide.
Decide what happens next
If the check reaches the applicable replacement point, arrange suitable replacement or workshop advice. Keep the chain identification with that request. If shifting problems remain, a chain-wear result by itself does not diagnose every part of the drivetrain.
For your next maintenance session, use the same compatible instrument and documented procedure. Keep previous results together so that your notes remain consistent. A log might read: date, chain model, tool, observed indication, applicable limit, and planned action.
Complete the rest of your preparation separately. Our bicycle tire-pressure checklist covers another pre-ride check. Explore Anscycle road bikes, or contact our team when you need help locating the correct component guidance.
Frequently asked questions
Does cleaning a chain remove measured wear?
Cleaning and checking wear are separate maintenance tasks. A clean appearance does not replace a measurement against the applicable service recommendation.
Can I use any chain checker on any bicycle?
Check the exact tool's compatibility with the chain fitted to your bicycle. Do not transfer one manufacturer's compatibility list to every gauge.
Is the cover a demonstration of a particular tool?
No. It is an original AI-generated editorial illustration of a generic chain and gauge, not a product photograph or a measurement diagram. Use the manufacturer's instructions for the tool you own.