A new pair of cycling cleats is a small purchase that connects several pieces of equipment. The cleat must match the pedal system, attach correctly to the shoe, and arrive with the appropriate mounting hardware. A familiar shape or brand name does not answer all three questions.
This cycling cleat compatibility checklist helps organize those checks before ordering. It covers identifying and comparing equipment, rather than prescribing cleat position, changing a pedal mechanism, or performing a bike fit.
Start with the pedal already on the bicycle
Find the exact pedal model and system name. Photograph its markings and look up the manufacturer's documentation. If you are also replacing the pedals, keep the proposed model distinct from the one currently installed.
Write the identifier in full. Similar abbreviations can describe different systems, and a general description such as road pedal is not a compatibility statement.
On a borrowed or secondhand bicycle, do not assume the pedals are those originally supplied with the bike. Inspect what is actually fitted and ask the owner or manufacturer to clarify uncertain identification.
Separate the two connections
There is a connection between shoe and cleat, and another between cleat and pedal. Record the requirements for both. Confirming that the bolts line up with a shoe does not by itself confirm that the cleat belongs with the pedal.
Shimano's SPD-SL installation guidance specifies a compatible three-bolt road-shoe mounting pattern for that system. Read the exact system name together with the mounting information, rather than treating three holes as a complete pedal-compatibility check.
Use the shoe manufacturer's documentation too. Keep shoe model, cleat model, and pedal model on the same shopping note so the intended combination is clear.
Read exclusions within a brand
A matching brand logo is not enough. LOOK's Delta cleat instructions explicitly warn against using Delta cleats with LOOK KEO pedals.
That example illustrates why the full system identifier matters. When reading a listing, search for the actual model and any exclusions rather than stopping at compatible with LOOK.
The linked Delta document also identifies the covered cleats as unsuitable for outdoor and road use. That restriction belongs to those documented products; do not assume every item carrying a familiar system name has the same intended use. Obtain the instructions for the exact item you plan to buy.
Confirm model-specific options
Once the pedal system is identified, read which cleat models the manufacturer permits. Do not use an accessory recommendation for a different pedal merely because both appear in the same product family.
For example, LOOK's power-pedal compatibility guidance distinguishes cleat options for KEO BLADE POWER from those for X-TRACK POWER. This is an identification example, not a recommendation for an unnamed bicycle.
Copy the relevant approved option into your shortlist and save the official link. Mark anything missing from the documentation as an unanswered question before placing an order.
Keep float and fit separate from compatibility
A listing may offer several cleat versions with different float descriptions. Shimano's linked guidance explains that cleat float and cleat position are separate considerations. Choosing a cleat version does not replace setting it up appropriately on the shoe.
Do not choose by color alone or carry a familiar color meaning across brands. Read the actual model description and ask for help when the permitted options or fit requirements are unclear.
Keep a record of the previously fitted cleat model if you have one. Treat that as identification information, rather than proof that its condition or position remains suitable.
Check what the package contains
Read whether the listing supplies a pair of cleats, mounting hardware, adapters, or some other accessory. Compare the package contents with the applicable shoe and cleat instructions.
A photograph showing several parts may not describe everything included. Ask the supplier to confirm missing details before ordering instead of planning to reuse unidentified hardware.
If an adapter is proposed, obtain explicit compatibility information for the complete arrangement. Do not treat an extra mounting plate as an automatic way to make any shoe, cleat, and pedal combination work.
Prepare a question the supplier can answer
Send the shoe model, pedal model, proposed cleat identifier, and relevant manual reference together. Ask whether that exact combination is supported and whether the package includes the required hardware.
For help understanding a store listing, contact Anscycle with those details. You can also browse our accessories collection; confirm the actual item's compatibility before purchasing.
Save the answer with the listing and date. A complete record makes future replacement purchases easier, especially when more than one bicycle or pair of shoes is in use.
Follow the fitting instructions after purchase
Check that the received item matches the confirmed identifier before installation. Use the applicable manufacturer's fitting procedure and specified hardware and torque, or arrange installation through a qualified bicycle shop.
Do not force an uncertain cleat into a pedal as a compatibility experiment. Complete the manufacturer's prescribed engagement and release practice before riding with a new setup.
Include the finished setup in your normal preparation alongside the pre-ride brake check. Each inspection addresses a different part of the bicycle.
Frequently asked questions
Does a three-bolt shoe fit every road pedal cleat?
Do not assume so. Check the shoe-to-cleat and cleat-to-pedal requirements separately.
Are all LOOK cleats interchangeable?
No. LOOK specifically distinguishes systems and excludes Delta cleats from KEO pedals.
Can I choose replacement cleats by color?
Use the model and compatibility documentation. Color alone is not a complete identification.
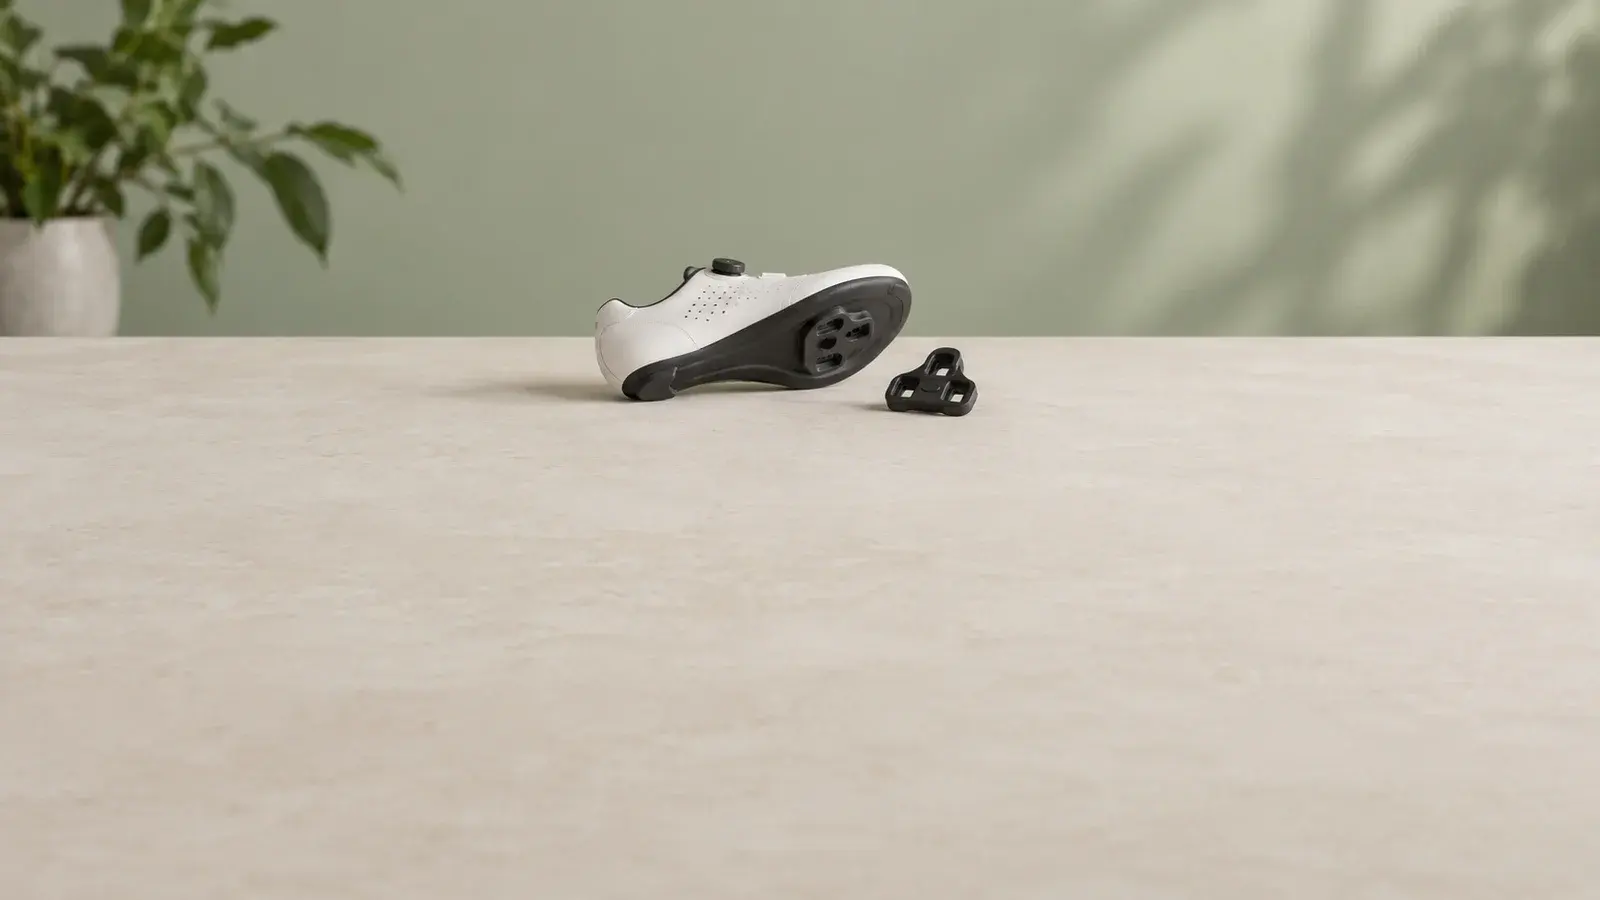
Cover: an AI-generated editorial image of generic cycling accessories. It does not depict a particular cleat standard or demonstrate an approved installation.