
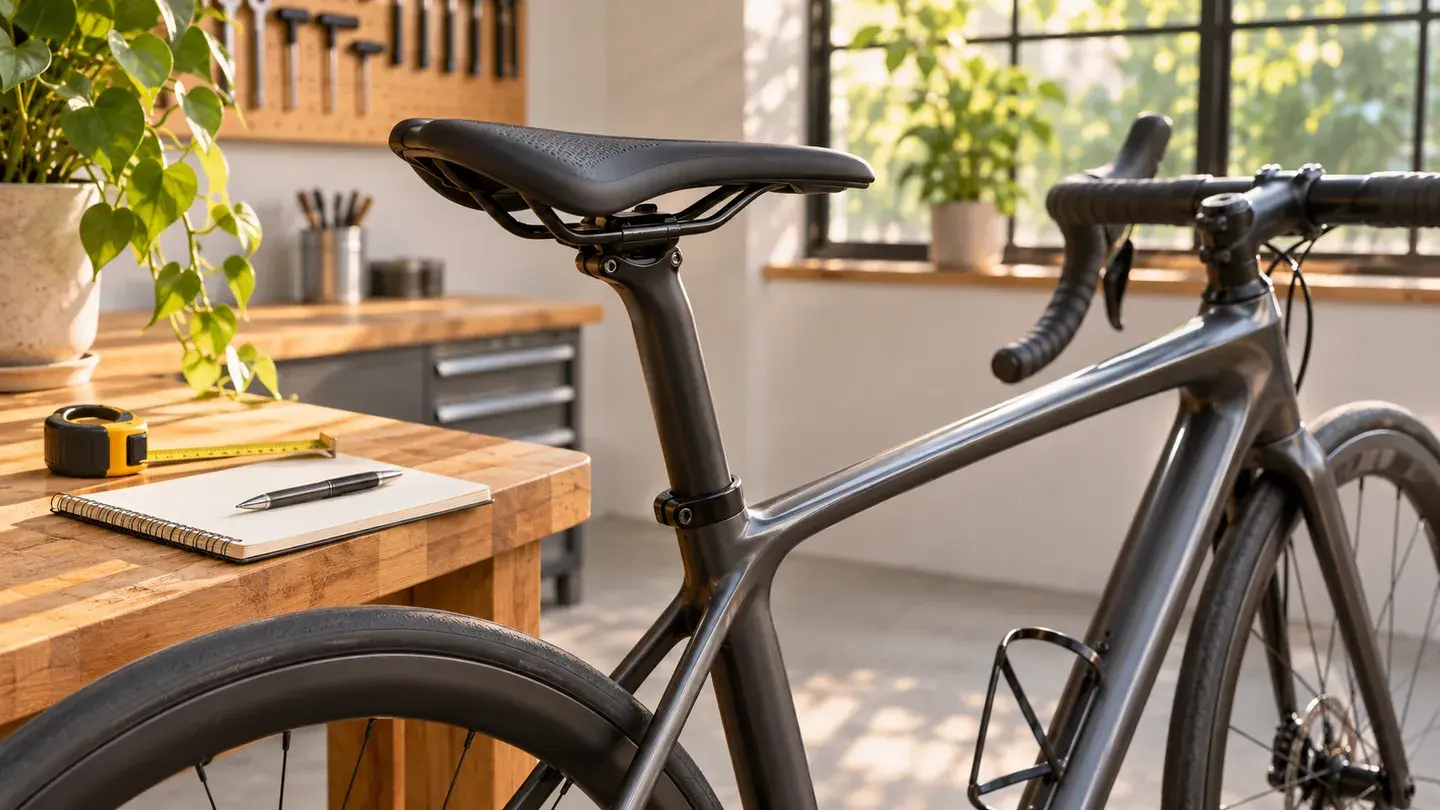
A saddle that feels right for one rider may not suit another. Height is one part of a bicycle fit, alongside saddle position, handlebar reach, pedals and the rider's individual needs. If a bike feels awkward, take a moment to record its current setup and consider a professional fit before making large changes.
This guide is a starting checklist, not a diagnosis or a promise that a particular position will eliminate discomfort. Follow your bicycle and component manuals, and ask a qualified mechanic for help with unfamiliar clamps, carbon components, dropper posts or any adjustment you cannot secure correctly.
Start with the right bicycle and a safe support
A saddle adjustment cannot make an incorrectly sized frame suitable for every rider. If reaching the bars, standing over the frame or controlling the bike feels difficult, a bike shop can assess the whole fit. Take the shoes and clothing you normally ride in, and mention any planned use such as commuting, long road rides or trails.
Use a stable support and a clear area away from traffic when checking a position. A helper can steady the bicycle. Do not balance a moving bicycle against a wall while attempting to adjust a component. Follow the bike maker's instructions for securing it, and keep hands away from moving wheels and the drivetrain.
Record your current position
Before moving anything, photograph the bike and measure the existing saddle height using a consistent reference. Note the saddle model, shoes and pedals as well. That gives you a way to return to the previous setup if a change does not help.
Park Tool's positioning chart describes recording saddle height with a straightedge and a measurement from the bottom bracket. Use a repeatable method appropriate to your bicycle; the purpose is to compare your own settings, not to copy another cyclist's measurement.
A measurement does not capture every fit variable. Different saddles, crank lengths, shoes and pedals can change the effective position. Record the parts as well as the number if you expect to compare settings after a change.
Check the position as a starting point
With the bicycle safely supported, sit in your normal riding position and place a foot on the pedal. The exact assessment depends on your bike and riding style. In its mountain-bike positioning guidance, Trek describes a slight knee bend at the bottom of the pedal stroke for the setup discussed there. It also recommends seeking a professional fit if positioning is difficult.
Use that observation as a conversation starter, not a universal angle or a prescription. Avoid forcing your foot, ankle or hips into an unnatural position to make a measurement look right. A fitter can consider mobility, injury history, riding goals and the entire bicycle setup. If you experience persistent pain or numbness, stop and seek appropriate professional advice.
Respect the seatpost insertion limit
The seatpost and frame have manufacturer limits. Do not raise a post beyond its minimum-insertion marking or ignore a more restrictive frame requirement. On some bicycles the mark is hard to see or the post is integrated; consult the specific manual or a bike shop rather than guessing.
Park Tool's seatpost adjustment guide explains the importance of the minimum-insertion mark and securing the collar to the manufacturer's specified torque. If the fit you want would exceed the safe limit, stop. The correct answer may be a different component or frame, not an exposed insertion mark.
Clamp styles vary. A bolt, quick-release collar, wedge or dropper-post mechanism may have its own procedure. Do not loosen an unfamiliar fastener or use a generic torque value. A qualified mechanic can identify the correct instructions and tools.
Make small, traceable changes
If your manual permits the adjustment and you have the appropriate skills and tools, make a small change, keep the saddle aligned as instructed, and secure the clamp to the specified torque. Mark the new measurement in your notes. Change one fit variable at a time so you can tell what altered the feel.
A dropper post introduces additional constraints, including cable routing on some models. A post that is stuck, creaks, slips, or will not stay secure needs inspection. Do not force it or continue riding with a loose saddle. Park Tool notes that height, fore-and-aft position and angle are separate adjustments; deciding on the right position is a personal fitting question.
Test gently and reassess
After the bicycle is correctly secured and checked, try a brief ride in a safe, low-traffic area. Notice whether you can start, stop and control the bike comfortably and whether your hips or knees feel strained. Do not make adjustments while moving. Return to a safe place before stopping to reassess.
A small change may require a little time to evaluate, but persistent discomfort or loss of control is a reason to stop. Keep your measurements and describe the issue to a fitter or mechanic. The best next step may involve saddle angle, reach, equipment selection or medical advice rather than height alone.
Before the next outing, include the saddle in your normal bike check. Our pre-ride brake checklist covers another important part of preparation. Confirm that the saddle and post are secure according to the manufacturer's instructions before riding.
Frequently asked questions
Is there one saddle height for everyone?
No. Body proportions, mobility, bicycle geometry and riding style differ. Use a safe starting point and seek a professional fit when needed.
Can I raise the post above its insertion mark?
No. Follow both the post and frame manufacturers' minimum-insertion requirements. Ask a shop if the desired height cannot be achieved within those limits.
Should I copy another rider's saddle measurement?
Not as a fit prescription. Record your own measurements consistently, and consider differences in bicycles, components and body proportions.
The cover is an AI-generated editorial illustration, not a product photograph or fitting diagram.