
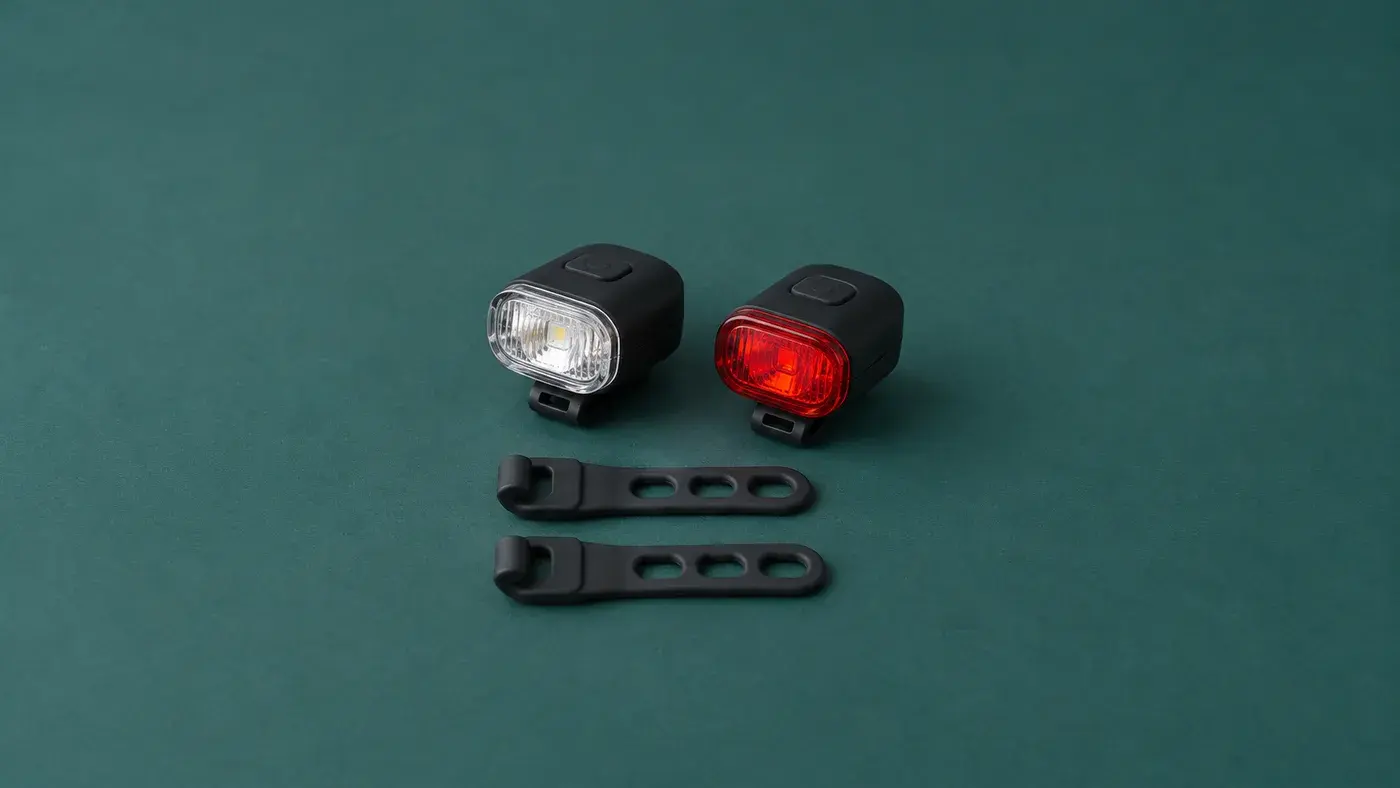
Bicycle lights help other road users notice you and, depending on the light and conditions, help you see the road ahead. Their usefulness depends on more than switching them on: a lamp hidden behind a bag, aimed poorly or secured to a loose bracket can leave a gap in your setup. Take a few minutes to check the front and rear lights before you leave.
Use the instructions supplied with your particular lights and bicycle. Mounting positions, charging requirements and operating modes differ. Local rules can also specify required equipment, colors and use; check the requirements for your route rather than assuming any one setup is automatically compliant.
Start with a clear view in each direction
A front light should face forward and a rear light should face backward. Choose mounting points that give each lamp a clear line of sight and let you operate the controls without interfering with steering, braking or other equipment. Trek's guide to bicycle lights discusses front and rear lights and their different roles.
A handlebar is a common front mounting point, while a rear light may fit on the seatpost. Your bicycle and light may offer other approved positions. Check the instructions for compatible bar or post shapes and sizes, and use the supplied or manufacturer-approved mount. Do not force a round clamp onto a differently shaped component.
Look at the bicycle with your usual luggage installed. A handlebar bag, saddle bag, rack load or loose jacket can block a lamp even when the mounting point seems obvious. Step several paces away and view the bicycle from the front and rear. Recheck whenever you change the load or add an accessory.
Secure the mount without over-tightening
Inspect the strap, bracket and attachment before every ride. Look for cracks, a torn strap, missing pieces or a latch that no longer engages. Follow the light manufacturer's installation instructions, including any fastening or torque guidance. Do not improvise a repair on a damaged mount that could allow the light to fall into a wheel or onto the road.
Once installed, gently test that the light and bracket cannot easily rotate or slide. Verify that cables have room to move when the handlebar turns and that the front light does not obstruct a brake lever, bell, display or shifter. At the rear, allow room for saddle bags and any moving components.
On a seatpost, respect the bicycle manufacturer's instructions and avoid attaching anything where it could interfere with a dropper post's movement. If a mounting location is uncertain, ask a bicycle shop or the light maker for a compatible solution.
Aim the beam deliberately
Turn on the front light in a safe place and check the aim against a wall or the ground. Follow the instructions for your light and adjust it so it illuminates the intended area without unnecessarily dazzling people approaching you. Some lights have specific orientation or cutoff requirements, so a generic angle is not a substitute for their manual.
Make sure the rear light points in the direction its manufacturer specifies and is not tilted toward the ground after the bicycle is loaded. Check again after riding over a rough section: vibration can reveal a bracket that is not adequately secured. Stop in a safe place before making any adjustment.
Check power, controls and lenses
Switch on each lamp and confirm that it responds. Check the battery indicator if the model has one, and charge or replace batteries according to its instructions. A light that works briefly in the driveway may not have enough charge for the planned ride. Carry a suitable backup or charging option when your trip requires it.
Wipe dirt from lenses using the care method recommended by the manufacturer. Inspect charging-port covers and seals where applicable, especially before wet weather. Do not assume a particular water-resistance rating or immerse a light unless its documentation permits it.
Learn how to select the appropriate mode before setting off. Regulations and conditions vary, including whether a flashing mode is permitted or suitable. Consider the needs of other road users, and use the model's instructions to understand how the selected setting affects battery life.
Make the check part of your routine
Before rolling away, stand in front of the bicycle and then behind it. Confirm that both lights are visible, secure and unobstructed. Turn the bars from side to side, inspect your luggage and try the controls. If a light does not work or cannot be mounted securely, resolve the problem before riding in conditions where it is needed.
Lights are one part of preparation. Review the bicycle's reflectors and other required equipment under local rules, and pair this check with the pre-ride brake checklist. No light makes a rider visible in every circumstance, so continue to ride attentively and adapt to the conditions.
Frequently asked questions
Can I mount a rear light on a bag?
Only if the light maker supports that mounting method and the lamp remains stable, correctly oriented and visible with the bag loaded. Check it from behind before each ride.
Does a brighter light always mean a better setup?
Not by itself. Position, aim, visibility, battery life and suitability for the route all matter. Follow the light manufacturer's guidance.
Should I remove reflectors after installing lights?
Do not assume lights replace reflectors. Check the bicycle instructions and the rules that apply where you ride.
Cover: AI-generated editorial illustration of generic bicycle lights; not a product photograph.